Building C-140 Patroller Doors
Building C-140 Patroller doors
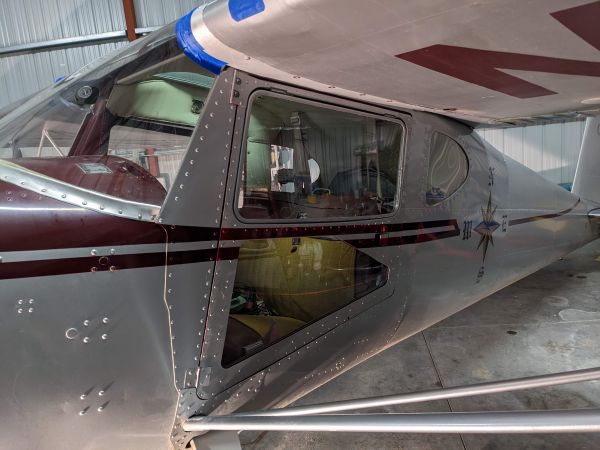
Patroller doors are one of those things that look really cool but are pretty hard to find. A number of people have modified regular cessna doors to make them, and this is my attempt at that.
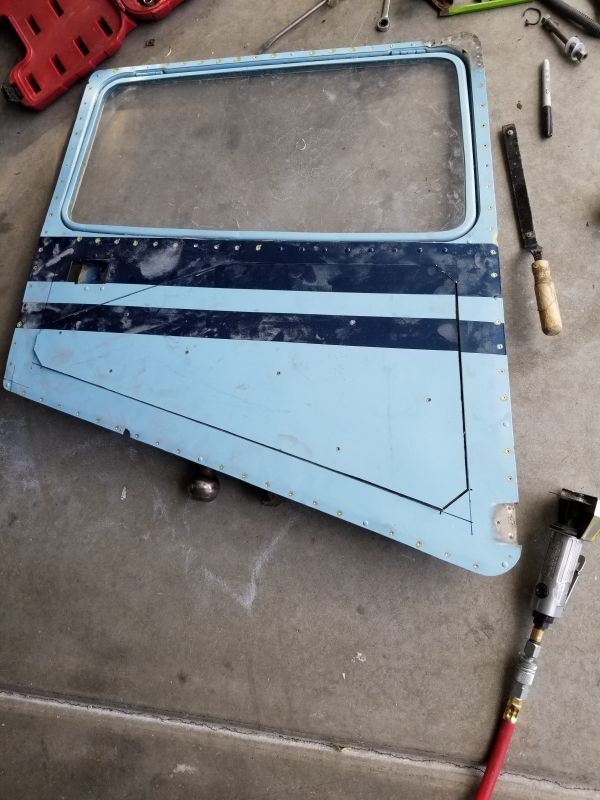
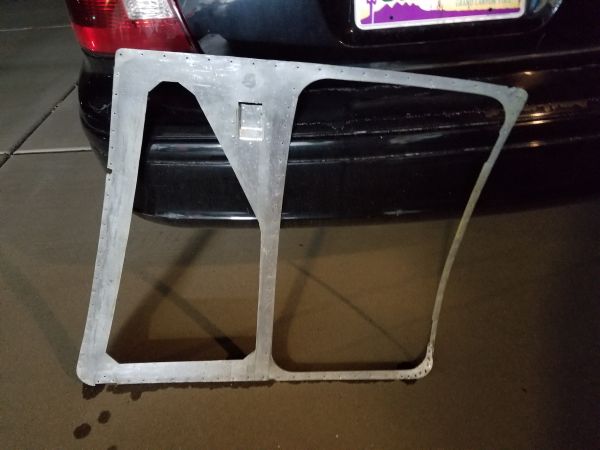
This is the starting point. I marked out the cutout based on dimensions taken from the cessna drawings and then used a cutoff wheel to cut it out. Go slow, this will leave a nice cut that requires minimal effort to finish later. I left the corners like that so they can be rounded out nicely later on.
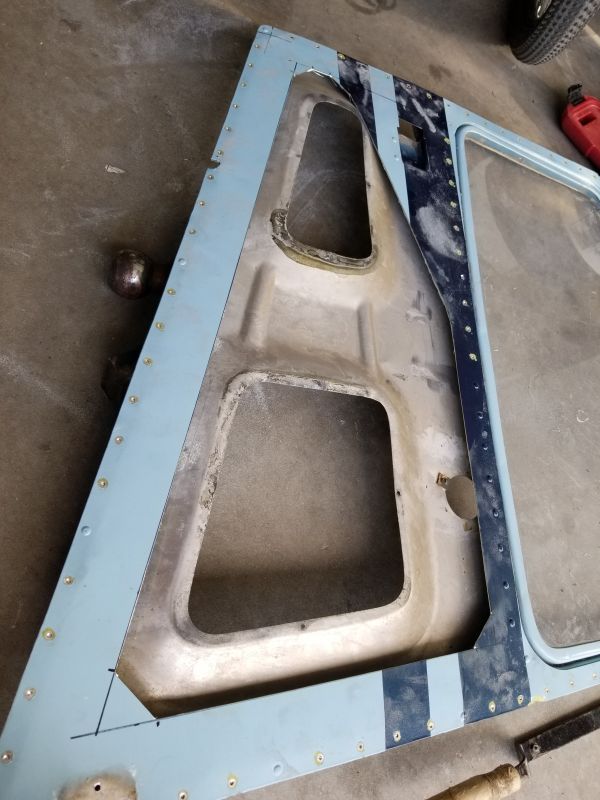
There's the outside skin cut. Had to drill out a few rivets to get that free from the inside skin.
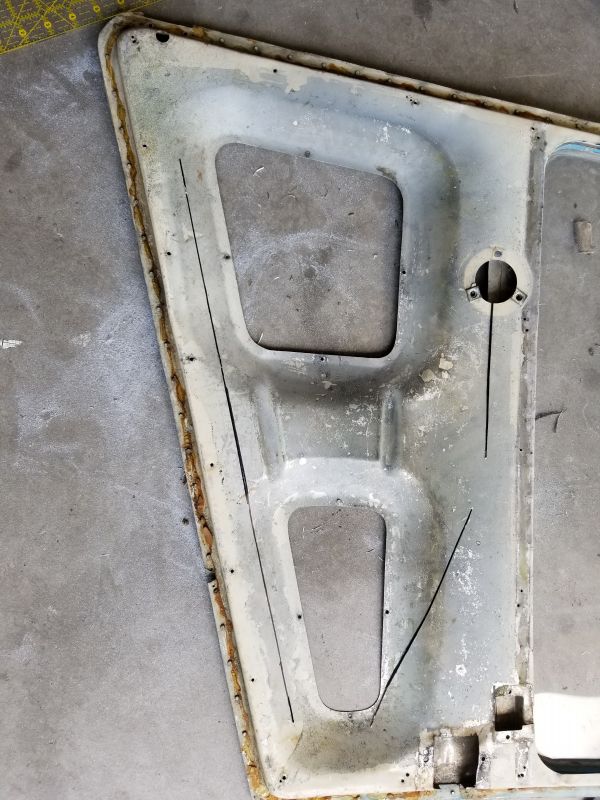
Working on the inside. Notice how it's pressed outwards - that's for rigidity, but will make this modification a little more trouble because we need that to be flat now. Next step is to separate the door skins. This means drilling out a lot of 3/32 rivets. I used a 3/32 bit, drilled the head "just enough" and then used a pin punch to drive the rivet out the back. It goes quicker than you would think.
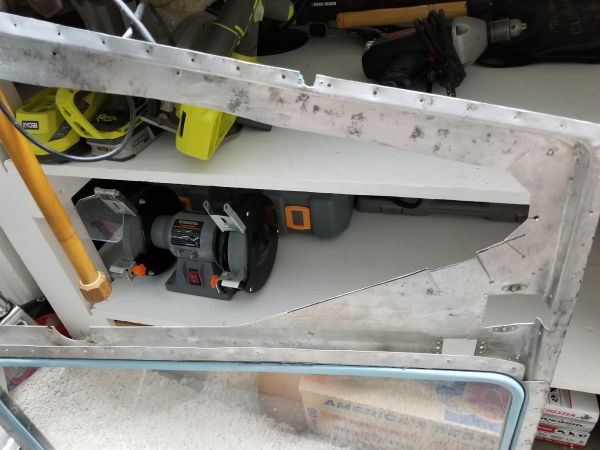
This was my solution to getting the pressed inner skin to lie flat, making a number of relief cuts.
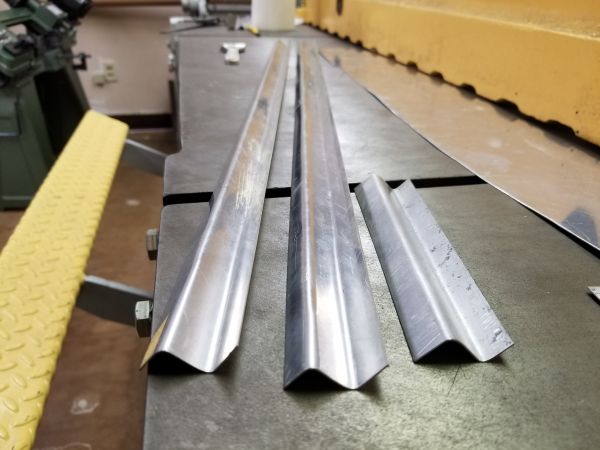
My door had some cracks by the latch so I made a doubler to go inside this area. Hindsight: putting this on the outside instead of inside would have done the same thing I think and looked nicer. Next step is fabricating the 'Z' channel stiffeners. I didn't find a place to buy this stuff, it's kind of a specific dimension... so I made it on a sheet metal brake.
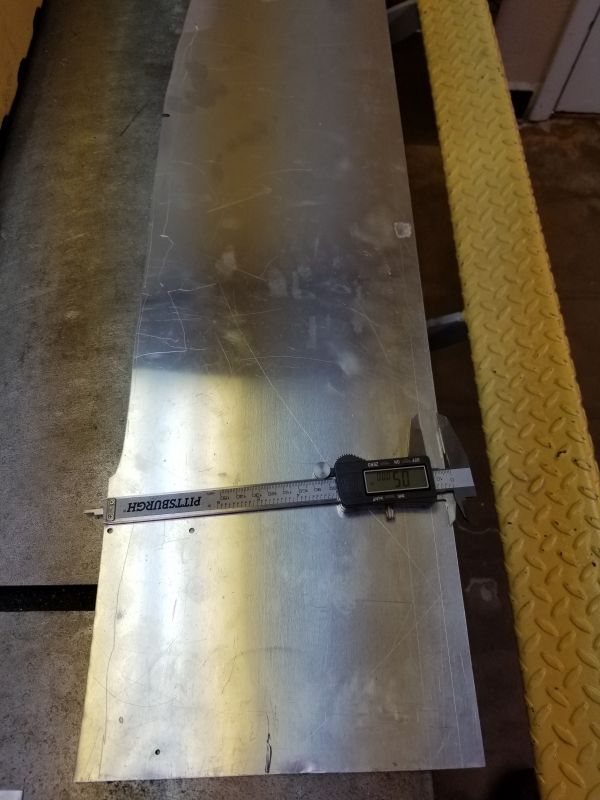
I did some trials on little pieces of metal to set the brake up for the the desired dimensions/bend radius. Saved those dimensions and then laid out on the large aluminum sheet...
Turned out OK. This brake(and operator) is not that great and they are not perfect, but they're straight and within 1/16" or so of the dimensions on the cessna drawings.
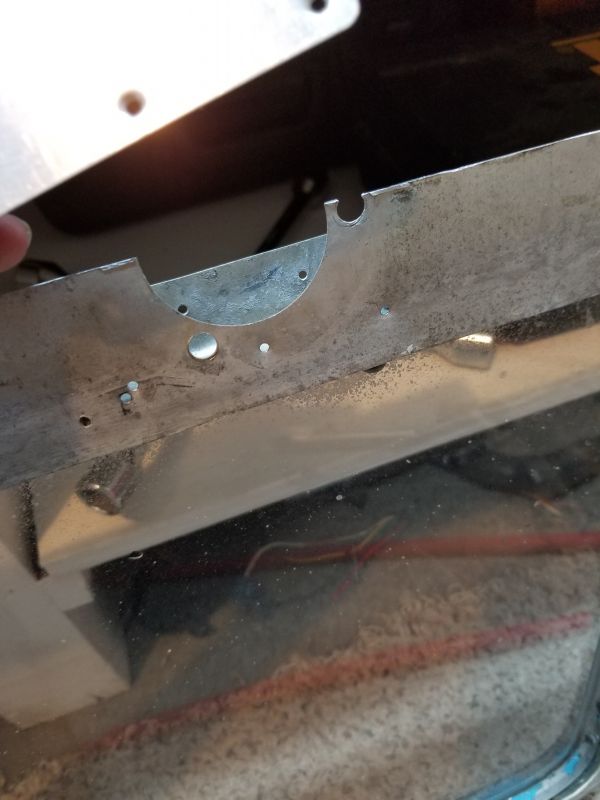
The door handle leaves a hole where you don't want it.
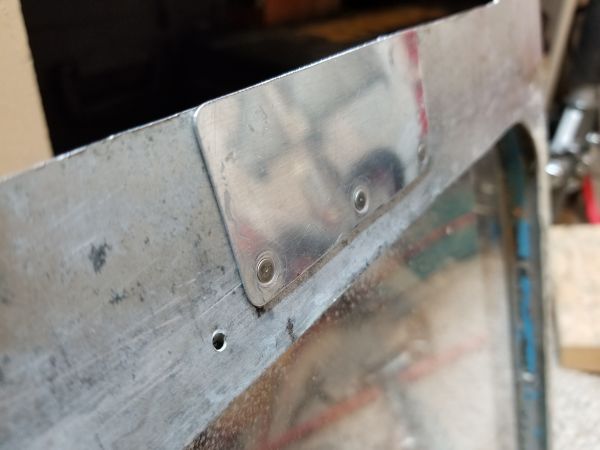
I made a small patch and flush riveted it in place...
Stripped off all the old paint. There was quite a bit of it, I think this had been painted more than once.
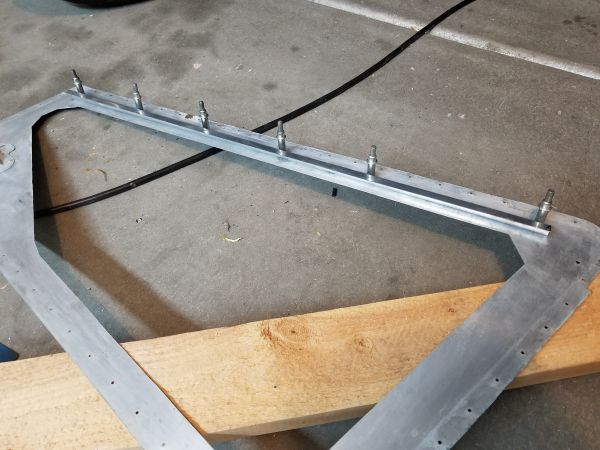
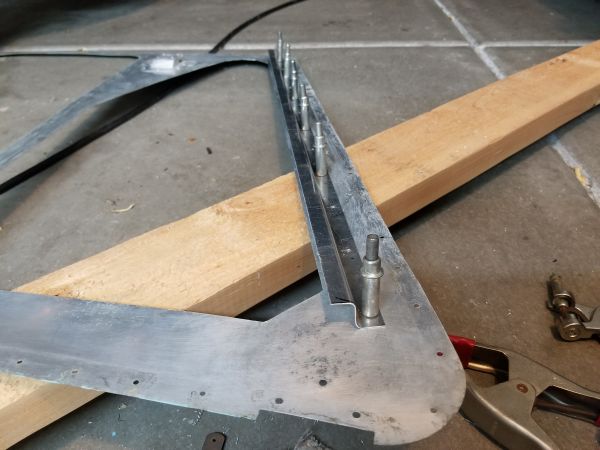
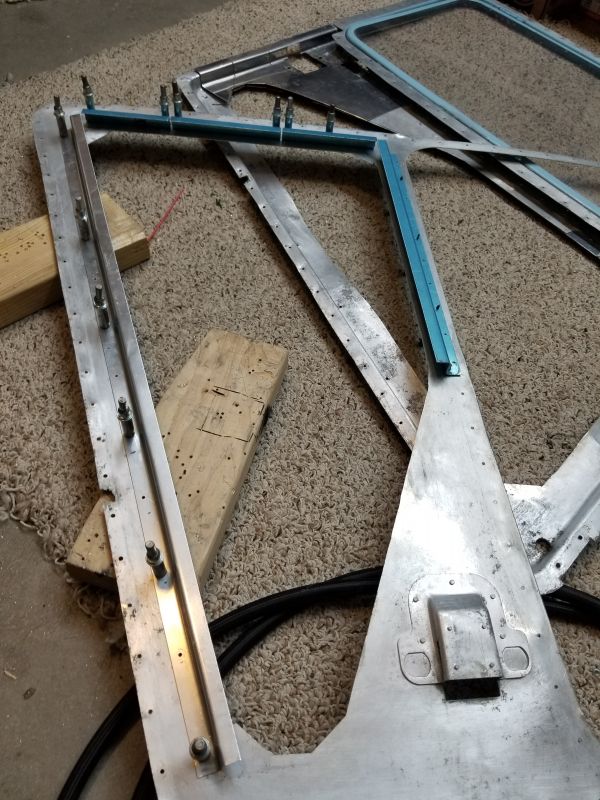
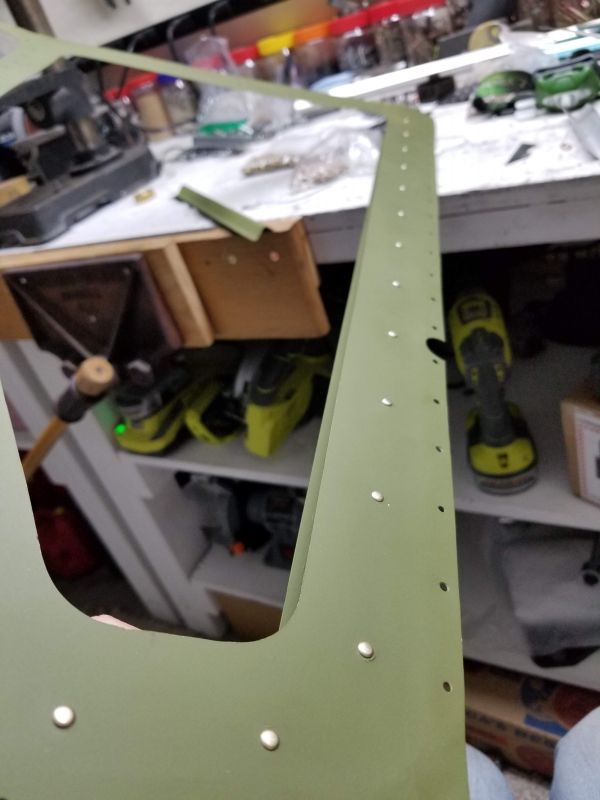
Now, start attaching the stiffeners to the outside skin. I basically lined them up so the edge of the stiffener matches the cutout. Holes are drilled according to the cessna drawings...
Another view of that.
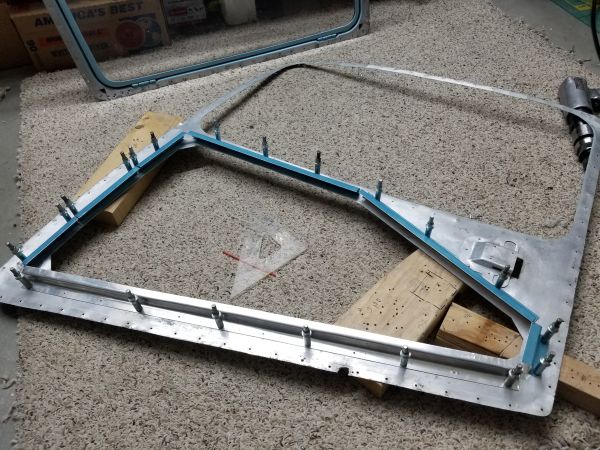
Continuing around...
All of them in place! I basically cut them all to the lengths shown in the cessna drawings and they fit well.
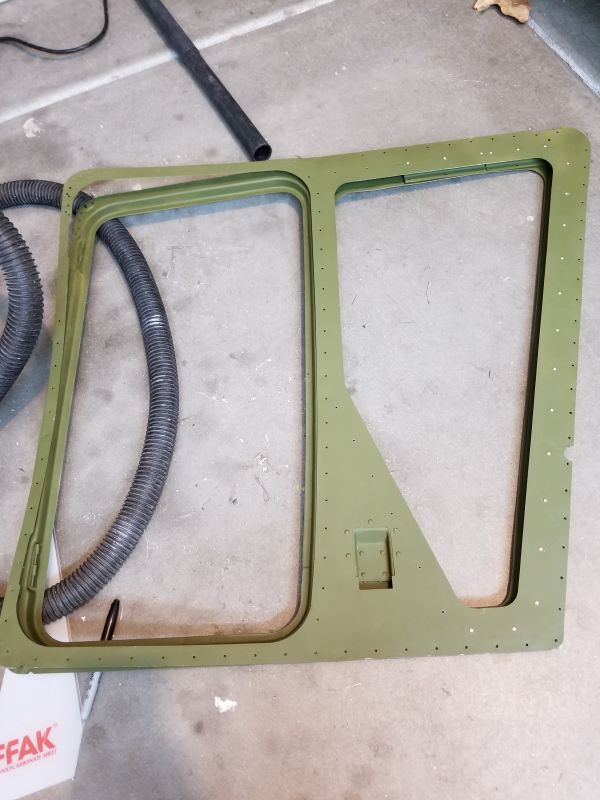
Next I put the skins together and here's how it looks.
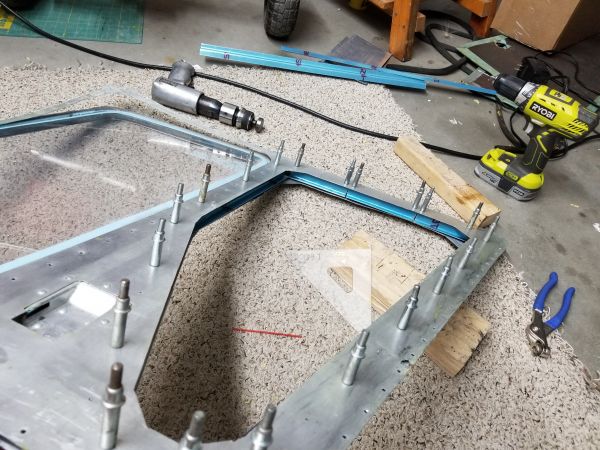
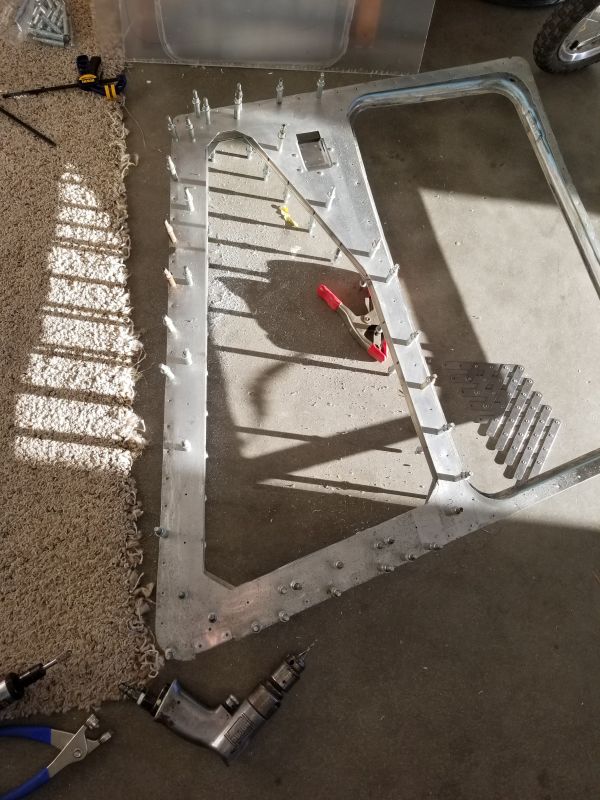
Then, use a bunch of clecos to hold the skins in precise alignment. I think this is critical to making sure it all goes together well when we start driving rivets. Once the skins were aligned, I started drilling holes through the other side of the stiffeners and inside skin.
After that, I used a die grinder to carefully round out the corners nice. Primed it with zinc chromate, and riveted the stiffeners to the outside skin.
Here's another shot of how it looks going together.
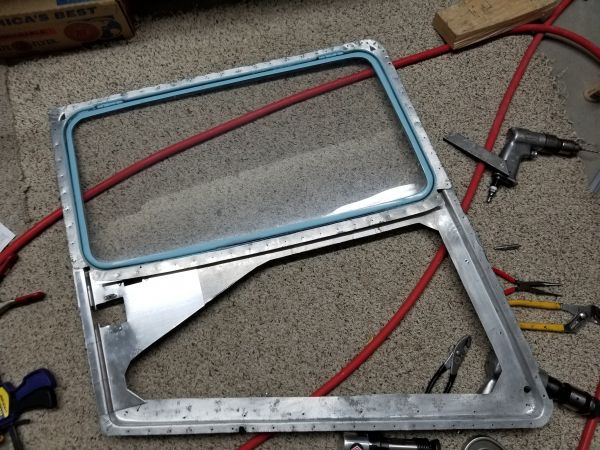
The lower window has to be fit in place before it all gets riveted together - there is no way to remove it after that. I used Lexan and put some rubber "U" channel around it to protect from vibration.
Then, just lots of riveting to put the doors back together. Had to put new springs in the latches, then mount the handles... and finally paint to match! More work than you would think but I'm pretty happy with how it turned out.
