ASW 20: Difference between revisions
Created page with "This ASW-20 was owned by a fellow named David Woods. He had flown it quite a bit out of southern california and from the logbooks, looks like he had some great flights in it. After some medical issues he gave up flying and it sat in his back yard in phoenix for 20 years. After he passed, I picked it up from the family and here is the story of getting it flying again. Overall it wasn't in terrible shape. Of course things were dusty and dry after sitting that long, and t..." |
No edit summary |
||
| Line 60: | Line 60: | ||
[[File:Asw20_panel_wiring_testing.jpg|600px]] | [[File:Asw20_panel_wiring_testing.jpg|600px]] | ||
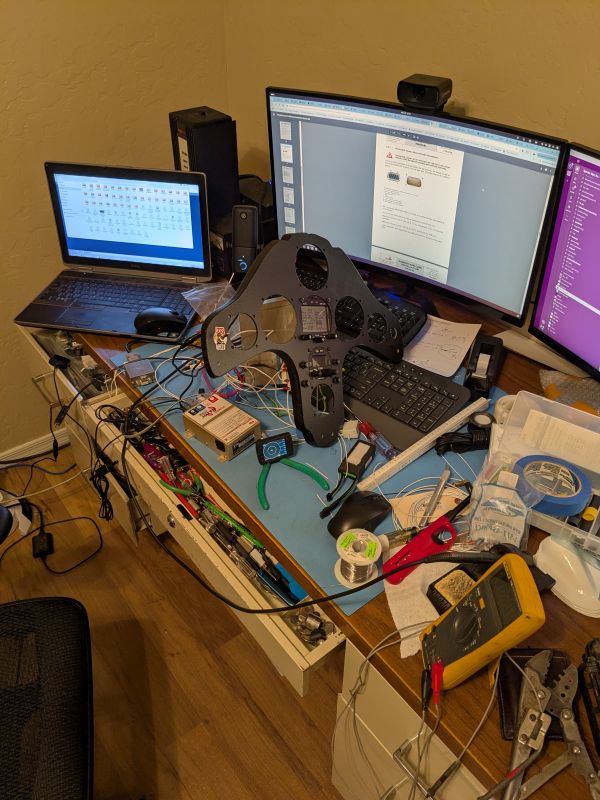
After gluing on the panel edge, I trimmed the front plate to fit and painted it with truck bed liner. That works pretty nicely because it's tough and a matte color that won't create reflections on the canopy! Above I think I'm testing the radio and SN10 wiring. I know it looks like chaos but I am always short of bench space! haha! | After gluing on the panel edge, I trimmed the front plate to fit and painted it with truck bed liner. That works pretty nicely because it's tough and a matte color that won't create reflections on the canopy! Above I think I'm testing the radio and SN10 wiring. I know it looks like chaos but I am always short of bench space! haha! | ||
| Line 66: | Line 65: | ||
[[File:Asw20_xpdr_harness.jpg|600px]] | [[File:Asw20_xpdr_harness.jpg|600px]] | ||
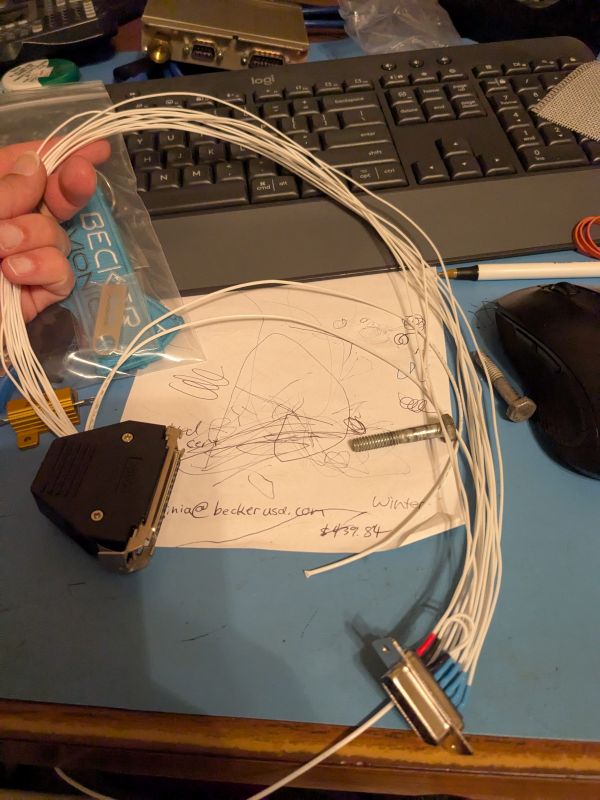
There is the transponder wiring harness completed. Unfortunately after connecting it up, the transponder would not power on. And yes, I triple-checked wiring before I connected anything, and it was powered on with a current limited supply, which never hit the limit. Actually it never drew current at all, something in the internal power supply was permanently in the O F F position. I sent it back to the factory for repair and they got it fixed in a couple weeks. Nothing's ever easy... | There is the transponder wiring harness completed. Unfortunately after connecting it up, the transponder would not power on. And yes, I triple-checked wiring before I connected anything, and it was powered on with a current limited supply, which never hit the limit. Actually it never drew current at all, something in the internal power supply was permanently in the O F F position. I sent it back to the factory for repair and they got it fixed in a couple weeks. Nothing's ever easy... | ||
| Line 72: | Line 70: | ||
[[File:Asw20_panel_rear.jpg|600px]] | [[File:Asw20_panel_rear.jpg|600px]] | ||
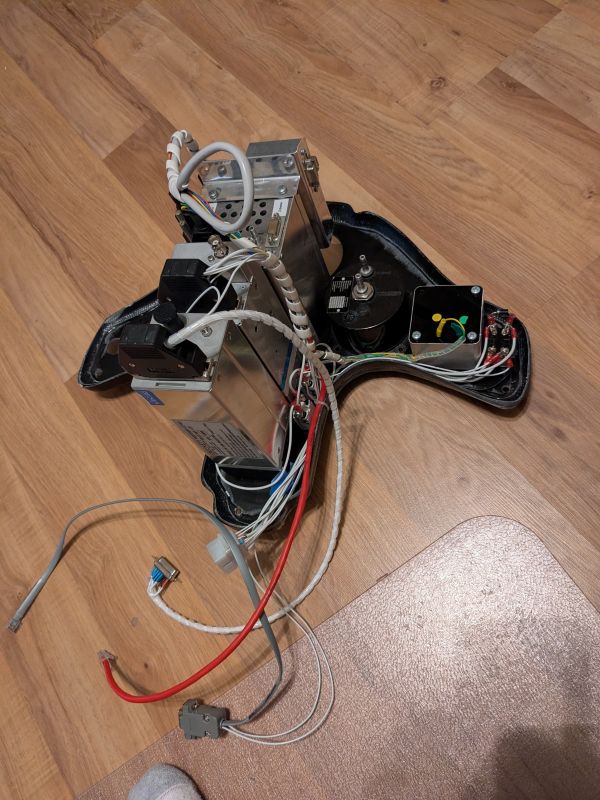
Ok now we're getting somewhere! Everything is wired up and working! The altitude encoder and FLARM attach to the D-sub connectors. The red cable with an RJ45 is for the FlarmView. | Ok now we're getting somewhere! Everything is wired up and working! The altitude encoder and FLARM attach to the D-sub connectors. The red cable with an RJ45 is for the FlarmView. | ||
| Line 78: | Line 75: | ||
[[File:Asw20_panel_installed.jpg|600px]] | [[File:Asw20_panel_installed.jpg|600px]] | ||
Here's how it looks installed. | Here's how it looks installed. | ||
| Line 84: | Line 80: | ||
[[File:Asw20_panel_flarm_encoder_mounting.jpg|600px]] | [[File:Asw20_panel_flarm_encoder_mounting.jpg|600px]] | ||
Here you can see how the FLARM and altitude encoder are mounted underneath the seat pan. | Here you can see how the FLARM and altitude encoder are mounted underneath the seat pan. | ||
| Line 94: | Line 87: | ||
[[File:Asw20_wing_fairing_sanded.jpg|600px]] | [[File:Asw20_wing_fairing_sanded.jpg|600px]] | ||
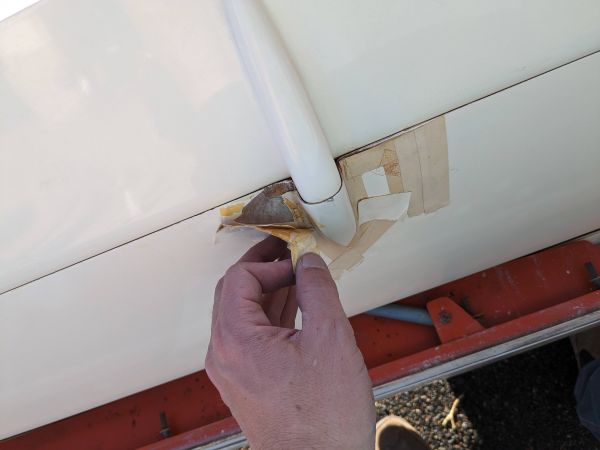
I chipped off the loose gel coat and feathered the edges. Above is a pic of that process. Once smoothed out, I sprayed it with a modern sandable primer to build it up a bit, and then topped with urethane paint. Painting is 5% painting and 95% sanding - pretty boring! And actually I sanded the entire wing to get rid of the oxidation/yellowing. This takes a long time but it really makes it look a lot nicer. As of today I have one wing finished and have the second one sanded. It just needs touched up in a few spots and then the final polish. | |||
Latest revision as of 03:58, 2 November 2025
This ASW-20 was owned by a fellow named David Woods. He had flown it quite a bit out of southern california and from the logbooks, looks like he had some great flights in it. After some medical issues he gave up flying and it sat in his back yard in phoenix for 20 years. After he passed, I picked it up from the family and here is the story of getting it flying again.
Overall it wasn't in terrible shape. Of course things were dusty and dry after sitting that long, and the wing gel coat was worse for the wear.
The gel coat on the wings has been refinished once according to the logs, but it was cracking badly in a few spots.
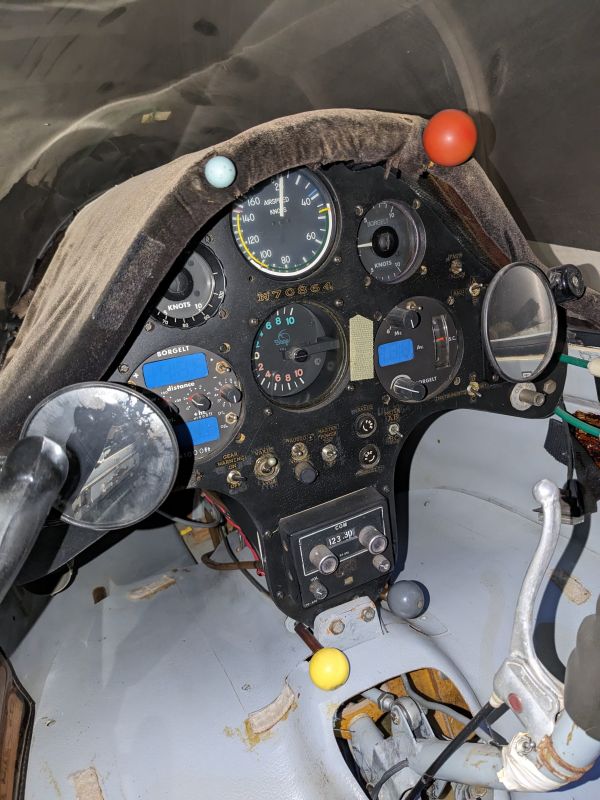
The instrument panel was a bit dated and worse for the wear as well.
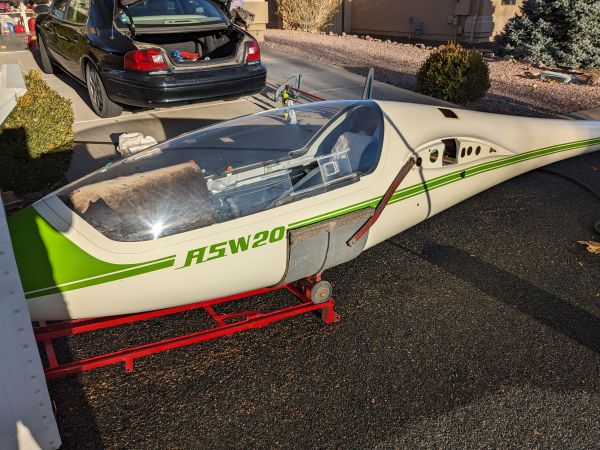
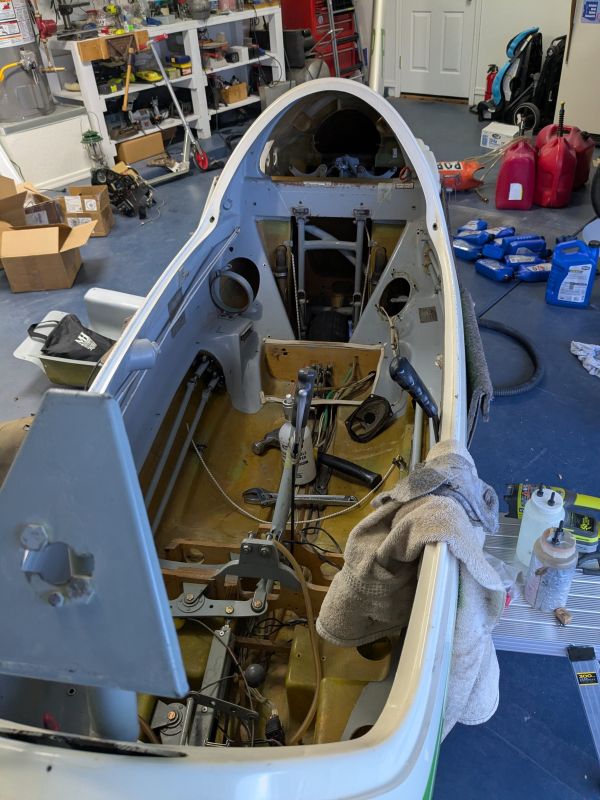
After washing off the dust, the fuselage wasn't looking too bad!
Trailer
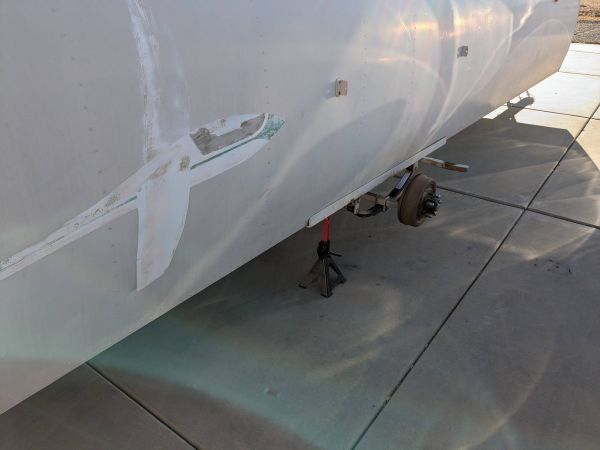
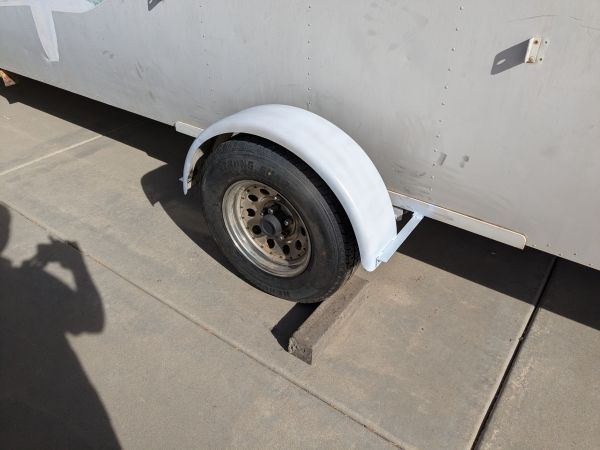
The tires were very old but fortunately they made the trip home from phoenix. One of the fenders had been used as a bumper a few too many times and was dragging on the tire a bit. So, I took things apart and fixed that, straightened up the fender and welded on some new supports. I also noticed one of the leaf springs was broken so I replaced the springs as well. You can see they look rather new in the picture above :)
There, that's better!
Fuselage
Next I disassembled stuff in the fuselage and gave it a thorough cleaning and lubricating.
I decided to upgrade the instrumentation a bit while I was at it. A friend laid out a new panel for me and mailed it.
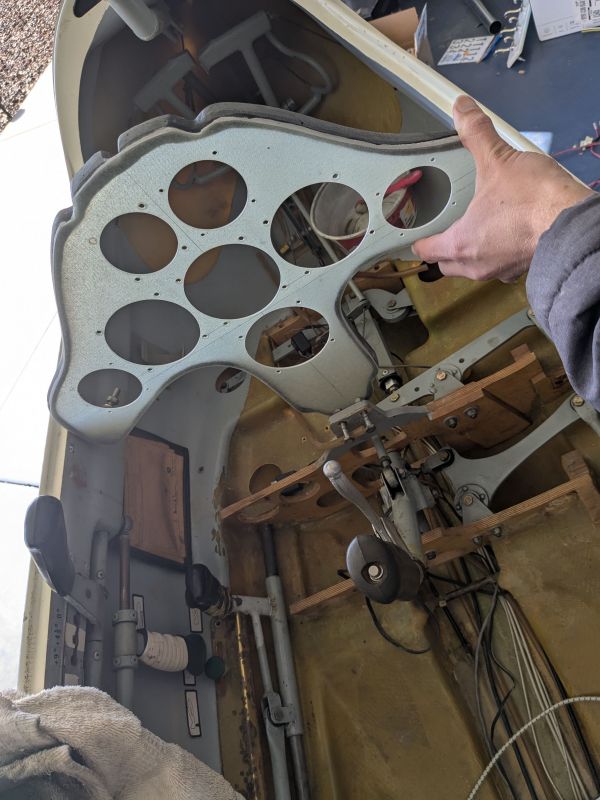
The old panel is routed out and the new one is glued on the front. That's a handy little trick isn't it! Here I'm trying it on for size to make sure everything is gonna line up...
It looks great! But unfortunately the canopy couldn't close :( The small instruments at the top... those are a becker radio and transponder. They are quite long and no matter which of the spots I put them, they wouldn't fit. I cried a little but there was just no way this panel would work... so I went to work and laid out another one on LibreCAD, this time placing the radios down low where there is more room. I am used to AutoCAD but no longer have access to a license, and I must say I was quite pleased with LibreCAD for this simiple project. It's a little bit quirky but I use git to save progress at key spots in case I mess something up and need to revert! panel git repo I sent it off to send-cut-send and a week later had a new front plate in hand!
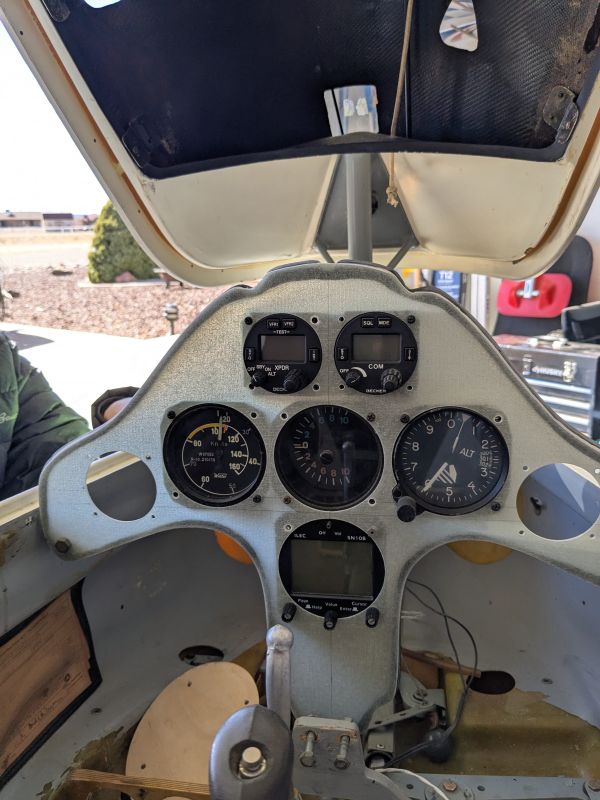
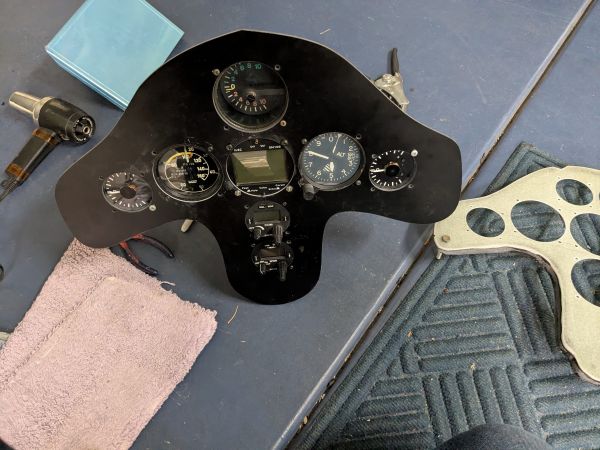
It looks pretty good, I don't like this layout as well but this has the advantage that the canopy can close :) I had them cut the outside outline slightly oversize so I could do the final trim by hand to match the panel edge.
After gluing on the panel edge, I trimmed the front plate to fit and painted it with truck bed liner. That works pretty nicely because it's tough and a matte color that won't create reflections on the canopy! Above I think I'm testing the radio and SN10 wiring. I know it looks like chaos but I am always short of bench space! haha!
There is the transponder wiring harness completed. Unfortunately after connecting it up, the transponder would not power on. And yes, I triple-checked wiring before I connected anything, and it was powered on with a current limited supply, which never hit the limit. Actually it never drew current at all, something in the internal power supply was permanently in the O F F position. I sent it back to the factory for repair and they got it fixed in a couple weeks. Nothing's ever easy...
Ok now we're getting somewhere! Everything is wired up and working! The altitude encoder and FLARM attach to the D-sub connectors. The red cable with an RJ45 is for the FlarmView.
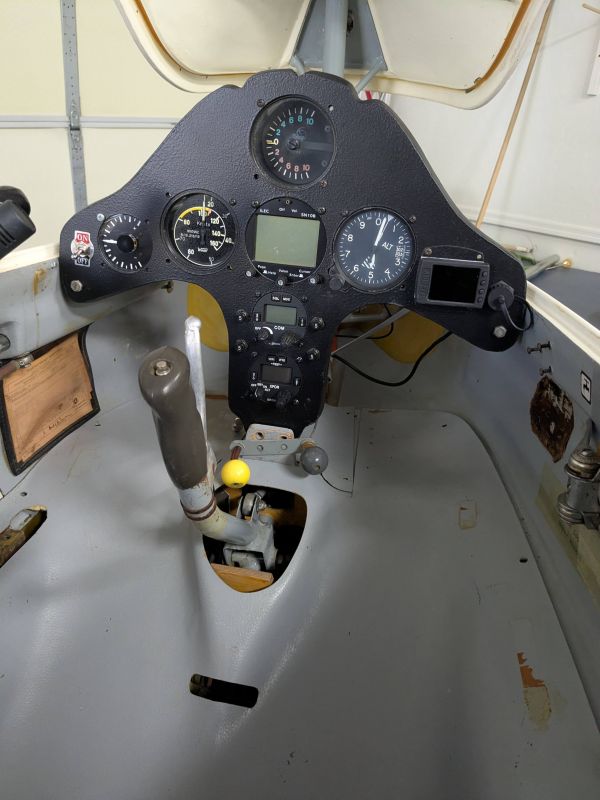
Here's how it looks installed.
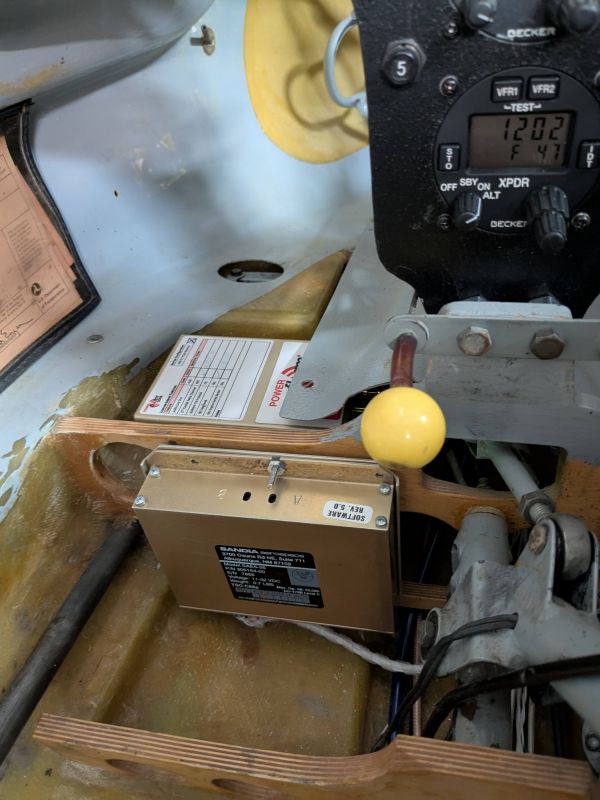
Here you can see how the FLARM and altitude encoder are mounted underneath the seat pan.
Wings
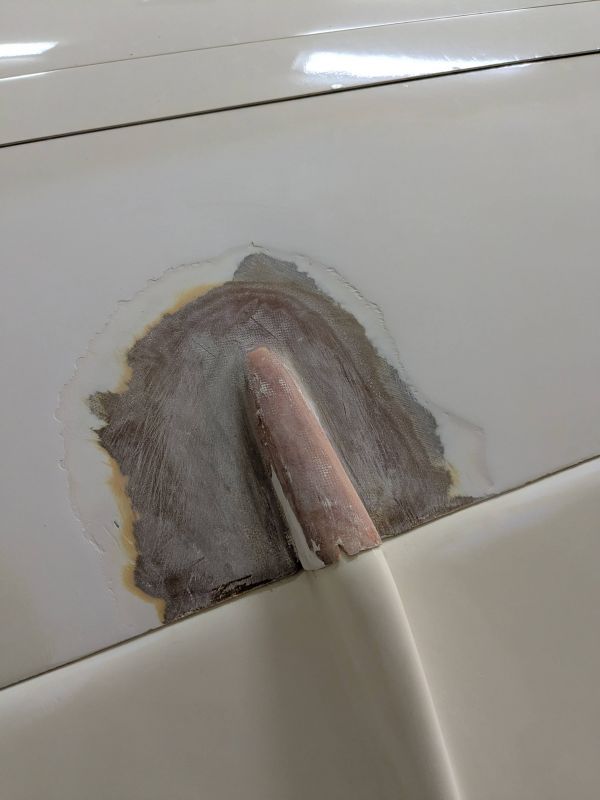
I chipped off the loose gel coat and feathered the edges. Above is a pic of that process. Once smoothed out, I sprayed it with a modern sandable primer to build it up a bit, and then topped with urethane paint. Painting is 5% painting and 95% sanding - pretty boring! And actually I sanded the entire wing to get rid of the oxidation/yellowing. This takes a long time but it really makes it look a lot nicer. As of today I have one wing finished and have the second one sanded. It just needs touched up in a few spots and then the final polish.
